| This page has been marked for rewrite. If you disagree, explain why on the talk page, or improve the page yourself. |
Building Recon is the fourth mission featured in Counter-Strike: Condition Zero Deleted Scenes. It is the first appearance of the British SAS and the second appearance of the Arctic Avengers.
Synopsis
At 16:37 hours in the 3rd floor of police headquarters in Ventspils, Latvia, the player enters a small office with a SAS team. The leader explains that there are unconfirmed rumors that a nuclear weapon is located in a local warehouse, and that they need to be stealthy until they ensure that the terrorists are in possession of a bomb.
The player must infiltrate the building undetected before any action can take place. Like Lost Cause, being spotted will end the mission in failure.
A few terrorists seem to carry on random conversations while the player infiltrates. As the player enters the building, the player is required to take a picture of the nuke to ensure its location. After the nuke is confirmed, the rest of the SAS team infiltrates full force, but the bomb itself has been removed by the fleeing leader. After a long chase, the leader has finally planted the nuke in an abandoned church, and the player is left alone to kill the leader and nearby terrorists and defuse the nuke before it detonates.
Objectives
- Infiltrate warehouse undetected, locate, and photograph the missing nuke.
- Go after the leader and recover the nuke.
- Eliminate all opposition.
- Defuse the nuclear bomb.
Factions
Counter-Terrorist

|
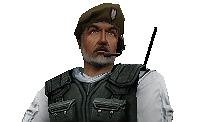
| The British SAS appears as the main Counter-Terrorist faction in this mission. In the intro, they are not usable during the ambush. They rappel down to kill the target but failed. One was wounded then after the air strike, while the rest they assist the player. When the player sees a Terrorist using the M2, they again assist the player in combat. Afterwards, they assist the player via radio until he is finished disarming the bomb. |
Terrorist

|
| Arctic Avengers |
Weapons & Equipment
Start
Equipment
| Icon | Equipment |
|
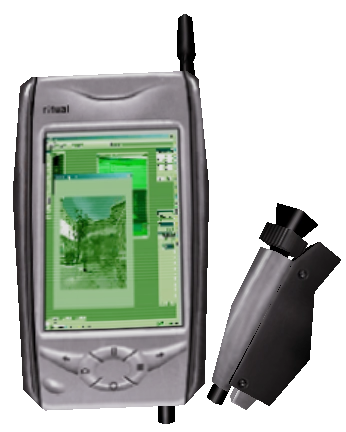
Fiber optic camera |
|
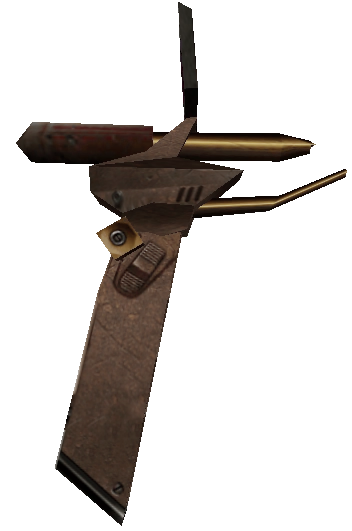
Blowtorch |

|
Camera |
|
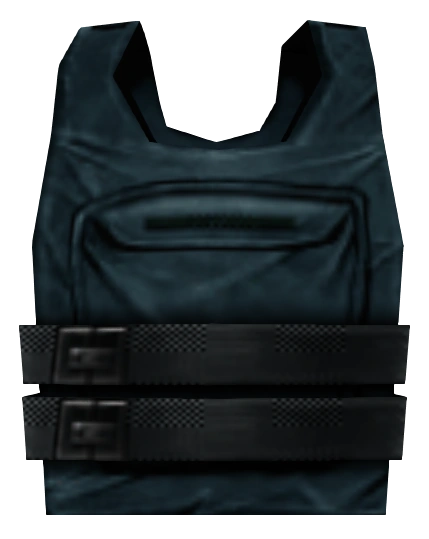
Kevlar |
Discovered
Weapons
| Icon | Weapon | Ammo | Where to Found |
| Knife | 1 | Found at the end of the infiltration phrase | |

|
MAC-10 | 30 / 60 |
Found at the end of the infiltration phrase, near the room that player needs to use his Camera. |

|
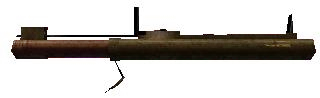
Night Hawk .50C | 7 / 14 |
Found at the end of the infiltration phrase, where a MAC-10 and a Knife is also found. |
|
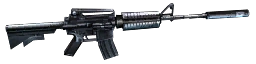
Colt M4A1 Carbine | 30 / 90 |
Found near a SAS operative at the side as well as in the church during the boss fight |

|
.40 Dual Elites | 30 / 120 |
Found beyond a cracked wall |
|
M72 LAW | 1 / 5 |
Found beyond from the underground cottage, shortly after the T-90 encounter |
|
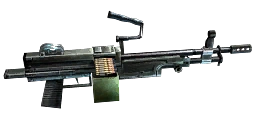
M249 | 100 / 120 |
Found nearby an enemy's M2 Browning Machine Gun |
|
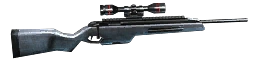
Schmidt Scout | 10 / 30 |
Found at a bed |

|
M2 Browning Machine Gun | N/A | Used for assaulting a huge wave of terrorist members |

|
CV-47 | 30 / 30 |
Found beyond the first door where a terrorist member emerges, on a weapon crate |
Equipment
Equipment that can be found by the player during this mission consists of:
- Kevlar - (seven times)
| ICON | EQUIPMENT | DESCRIPTION |
|
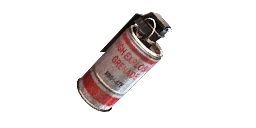
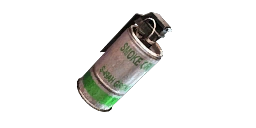
HE Grenade | This grenade can be found four times during this mission. |
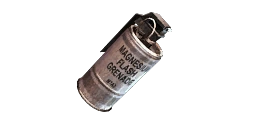
|
Flashbang | This grenade can be found once during this mission. |
|
Smoke Grenade | This grenade can be found once during this mission. |
AI Player
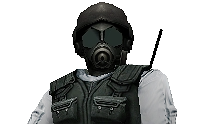
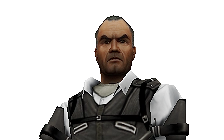
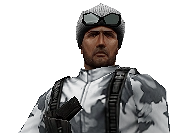
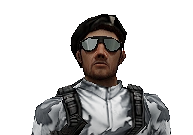
British SAS
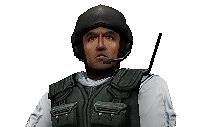
There are three British SAS models used in this mission. The models and their weapons are:
| MODEL | APPEARANCE |
|
|
|
|
|
|
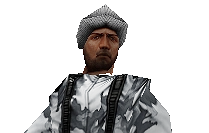
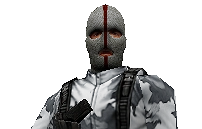
Arctic Avengers
There are several models of Arctic Avengers used in this mission. The models and their weapons are:
| MODEL | APPEARANCE |
|
|
|
For some reason, this mission uses several low-resolution Terrorist models. This model uses:
|
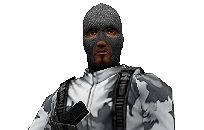
|
Terror model uses:
|
|
Leet model uses:
|
|
Guerilla model uses:
|
|
Militia model uses:
|
|
Arctic model uses:
|
Ammunition & Medkit
Ammunition
Types of ammunition found in this mission:
| ICON | CALIBER | APPEARANCE |
| 9mm Parabellum | Discovered with the Elites in a large amount (120). There is no additional ammo for the rest of the mission. | |
| .45 ACP | 4 ammo boxes are found in this mission | |
| 5.56x45mm NATO | For the M4A1, several small clips and large boxes. For the M249, 2 60-round belts are in boxes. | |
| .50 Action Express | Several found in the beginning. Rarely found later. | |
| 7.62x51mm NATO | Discovered starting from the appearance of the Scout. The AK-47 also uses this ammo. |
Medkit
Types and frequency of appearance of the medical kit in this mission:
| ICON | TYPE | AMOUNT |
|
First Aid Kit | 4 |

|
Wall attached medkit | 6 |
In-game screenshots
Premise
")
")
")
")
Infiltration
")
")
")
")
")
Striking
")
")
")
")
Finale
")
")
")
")
Mission Notes
- If you are too slow to take a picture of the nuke, the mission will fail.
- Be careful when using the M2 Browning Machine Gun! If a friendly operative stands in front of the weapon when you use it, they will brand you as a traitor, then attack you.
- The first enemy M2 gunner will not be killed until an allied Harrier attacks his position. Take cover when he's firing at you.
- A box full of ammo can be secretly found in this mission, near the Tank.
- The nuke in the church is timed. The countdown will start after you fight the boss in the church.
- After taking out the tank with the M72 LAW, it is possible to bring another LAW. This is useful when killing any opposition or the Terrorist leader himself at the end of the game.
- Also, if you are too slow to defuse the nuclear bomb while engaging the enemy after 30 seconds it will explode and then you may result in a mission failure.
- Do not press any red buttons during the infiltration part, as they are alarm buttons. Pressing any of them will cause the mission to fail. If the player is seen by any of the Terrorists for too long, they will also press these buttons and cause the mission to fail.
Trivia
- Six individual maps are used in this mission.
- This is the only mission where the British SAS operatives wear winter uniforms.
- A SAS operative with a desert camo helmet and winter uniform can be seen in this mission. He's hiding next to the area where the player's teammates will perish.
- However, if the player act fast enough, the teammates will survive.
- A dead SAS operative with an original uniform can be seen. He's located to the area where the vent will break when the player walks inside it.
- A SAS operative with a desert camo helmet and winter uniform can be seen in this mission. He's hiding next to the area where the player's teammates will perish.
- The player can destroy the tank with a HE Grenade by aiming at the turret of the tank, and the tank will be destroyed when simply hit by the grenade instead of the explosion, probably because of an engine bug.
- This is the only mission the MAC-10 and the M249 can be obtained.
- The connector for the buttons can be destroyed if the enemy does not use them. If console commands are used to give weapons, and the enemies are fired upon, they will look as if the player gets spotted, the mission will not automatically fail.
- Also, the connector for the mains cannot be destroyed even if the player tries to use cheats to get the weapon. However, if the player is detected by an enemy before entering the garage, they will also press the buttons and lead to a mission fail.
- The Condition Zero map Vostok is based on this mission.
- If a SAS operative (who is not following the player) accidentally injures the player with the presence of other SAS operatives that are following the player, the operatives will attack the one who accidentally injured you. This is possibly a bug.
- This is the first map to have 54 low resolution terrorists. The other mission is Motorcade Assault and the third is Rise Hard.
- When killing the team leader at the start of the mission (by spawning a weapon through cheats), the leader will appear dead although his scripted movements will still function. This can be seen in this video
- Because the operatives are unarmed (with the exception of one operative who is guarding the door), they will constantly reload invisible weapons when a player kills an ally.
- The wounded ally that appears next to a hacker can still attack Terrorists, even though he is not supposed to do. He will switch from crouching position (firing) to a wounded position (hold fire) when the player is hit by an enemy.
- If the Terrorist at the window of the church is killed, he will fall and end up being impaled on the cross and the church gate will open. Strangely, his Magnum Sniper Rifle will turn into an K&M Sub-Machine Gun
- The intro music for the Motorcade Assault mission can be heard in this mission when the player encountered the T-90.
- The player's teammates will disappear for unknown reasons if they did not reach the location where the T-90 is encountered. If some of them do manage to survive for an extended period and they are following the player, they will simply die when the T-90 appears.
| ||||||||||||||