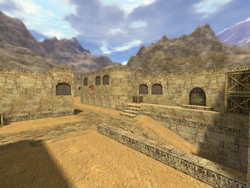
Dust II (de_dust2) is a very popular bomb defusal map and is featured in many casual and competitive servers.
Overview
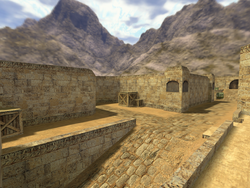
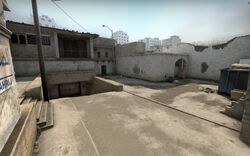
Dust2 is strategically designed to allow players to either traverse through the pathways with ease or for infiltration purposes. The areas with the highest amounts of conflict include the middle, tunnels, the side, and the bombsites. Snipers are very common in the longer sections of the map but may decide to stay away from the tunnels and Bombsite B. The map is commonly referred to as the most balanced map in the game, however Dust2, like other popular maps, doesn't offer anything unique to it's layout, opposed to maps like Vertigo or Nuke with an odd, uncommon. layout.
")
")
")
Hot Spots
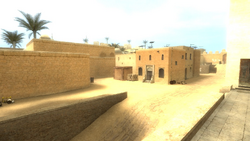
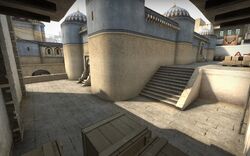
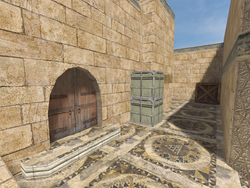
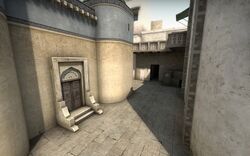
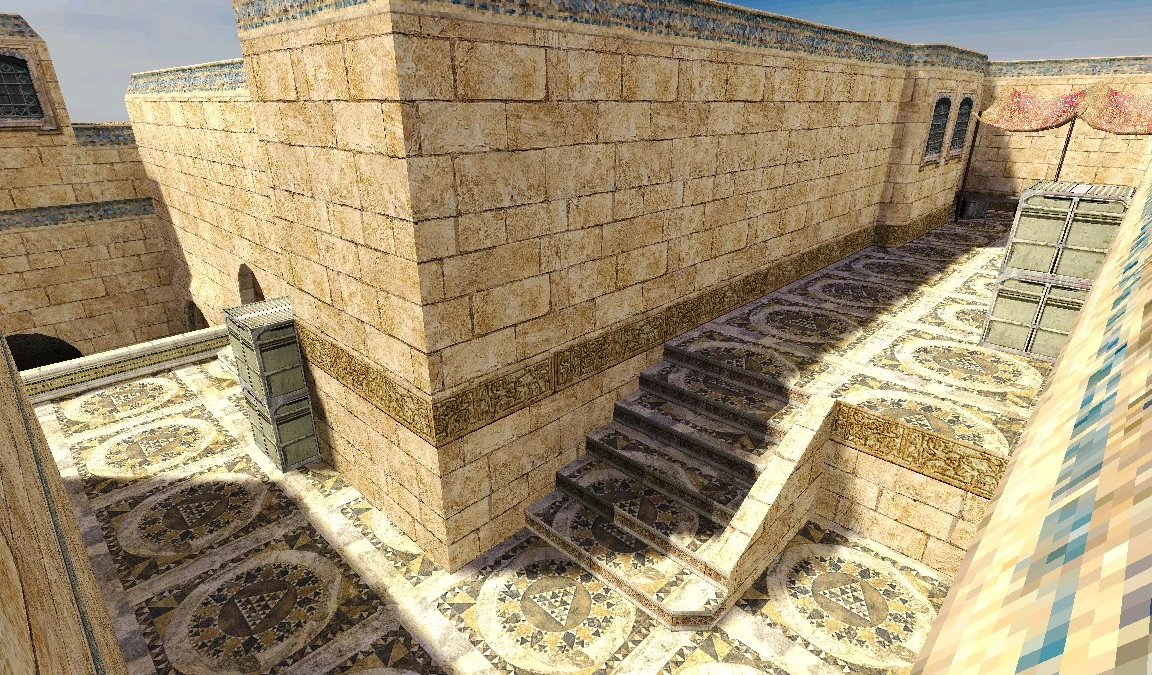
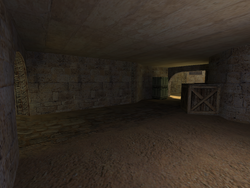
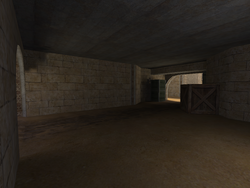
Bombsite A/Side Doors
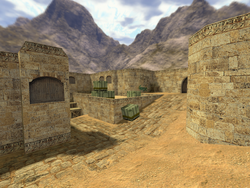
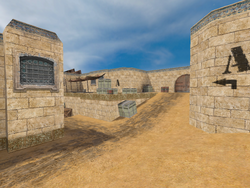
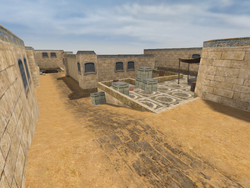
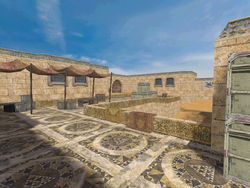
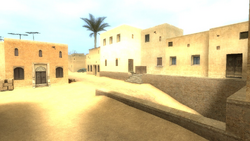
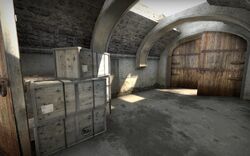
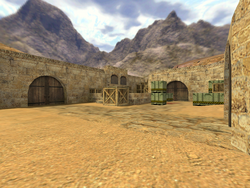
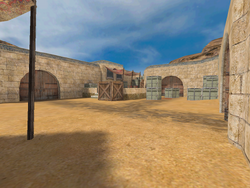
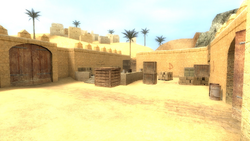
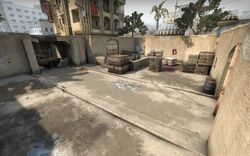
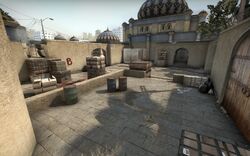
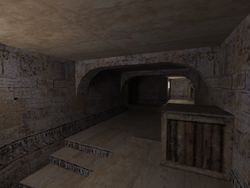
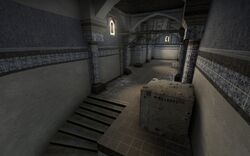
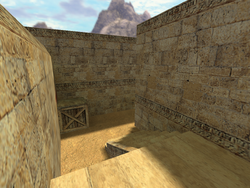
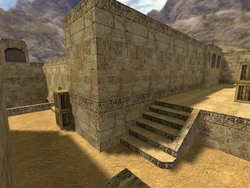
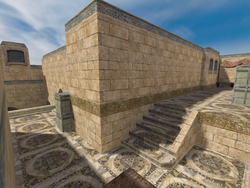
Bombsite A
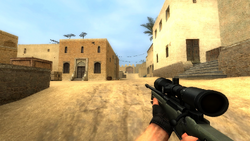
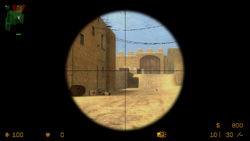
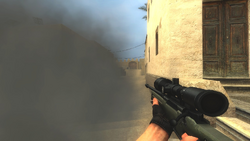
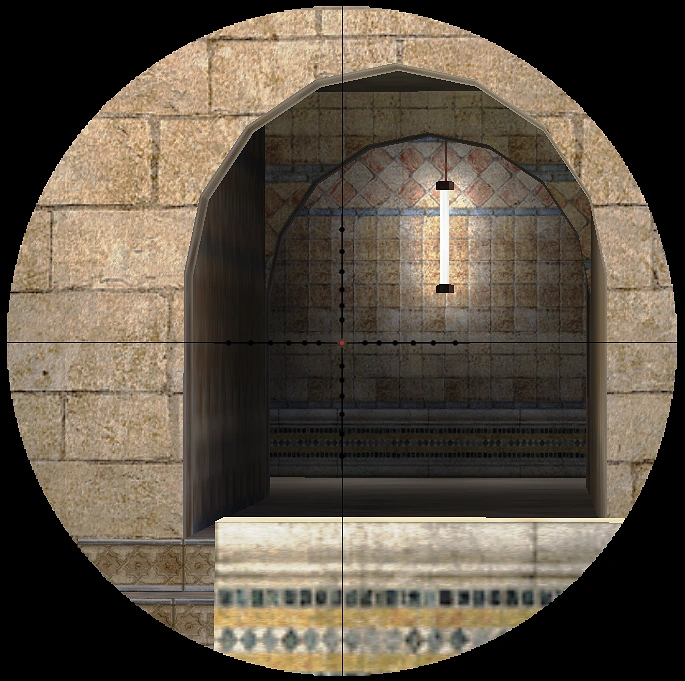
Snipers are fairly common throughout this area as bombsite A and its entrances are open-spaced and lack cover. A CT sniper can stay at the back of the area and slow the advance of the Terrorist team if they want to plant the bomb here. On the other hand, Terrorists can also guard the C4, even if they are far away from it, as a Terrorist sniper can reach the ramp near the side doors can guard a planted C4. To counter this, Smoke grenades are thrown at the long paths to decrease the chance of being hit.
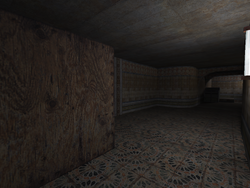
Do not stay in (or use) the lower pathway that connects the CT Spawn Zone and bombsite A if assailants have overwhelmingly taken over bombsite A. Enemies can corner you from many angles before you can receive the chance to retaliate. Furthermore, that area is often a target range for snipers.
Players from both teams will approach this area with caution. In some situations, the "ramp" is where players with rifles will dart for cover and can actually provide cover while allowing them to fight enemies at this bombsite. Another note is that when the C4 was planted in Site A, a sniper can guard that section by hiding in the aforementioned ramp.
The catwalk is often used by players, especially for snipers who need to breach this bombsite.
")
")
")
")

Bot Exploit
In Counter-Strike: Source, human Terrorist players can hide the bomb by firing at a moveable prop (a barrel) towards the C4 after it has been planted. This prevents CT bots from defusing it which allows the Terrorists to win.
Tip
To guard the C4 effectively without risking the CTs being able to corner you, it is advised to plant the bomb at the edge of the bomb target and camp at the side ramp.
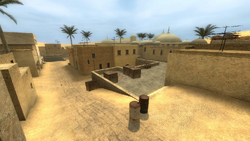
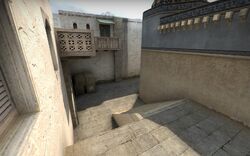
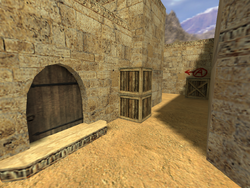
Side doors
Generally speaking, the Counter-Terrorists can rush faster to the side. However, the Terrorists can easily occupy the opposite area of the side door (near their spawn zone) thus leveling themselves against enemies.
Although rushing through the side doors may seem appealing, players rarely venture through this section (as campers tend to have the upper hand by easily shooting through the penetrable wooden doors and shotguns are deadly in the enclosed area, even worse than the tunnels). In many situations, a flashbang is thrown to disorientate rushing players. If there are too many opponents to engage, retreating back into the side passageway is another alternative as enemy players will prefer to stop chasing you (be warned though that they can corner you if a flashbang was thrown).
Remember that in each end of the side route, there are additional areas in which players can take cover from snipers. Due to this, be careful in moving through this area as rushing may be a considerably poor choice.
Players will often avoid traversing through this area as the side door is them most enclosed spot in Dust 2. However, in later parts of the round, players will use/guard this pathway when combat is occurring in other areas, especially if the bomb was planted in Bombsite A.

Tip
If you need to breach bombsite A through the side, it is recommended to use a smoke grenade. The smoke is very helpful in concealing movement and you may be able to surprise enemy snipers.
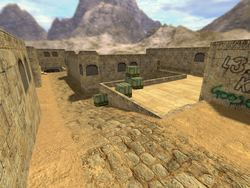
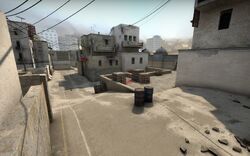
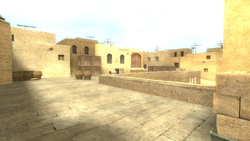
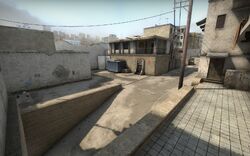
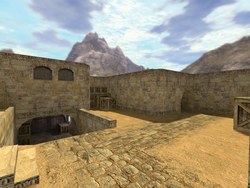
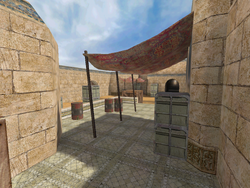
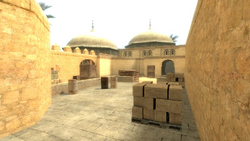
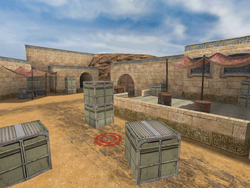
Bombsite B/Tunnel
Bombsite B
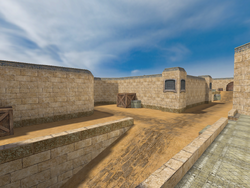
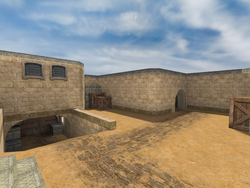
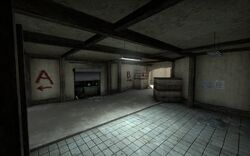
Unlike Bombsite A, Site B is less open-spaced and is where the Terrorist team would most likely plant the bomb if they were unable to breach through Site A. Ambushers/campers would have an easier time in eliminating enemies due to the restricted space and numerous amounts of cover. Furthermore, the enclosed entryways are easily guarded, similar to the side doors.
In terms of guarding this bombsite, it is a reasonable choice as there are 2 routes (3, if the hole near the doorways are included) to take which your team members can easily watch. Note there is a hole in which players can use for sniping purposes or infiltration if the entrances are blocked with enemies. In fact, grenades, such as Flashbangs are thrown through the hole to disorientate enemies and allowing the user's team to breach through the bombsite. In Global Offensive, defenders may use Molotovs or Incendiary Grenades as a more aggressive way to cover entrances.
Snipers can easily defend this bombsite if the tunnel pathway and the CT Spawn Zone are sufficiently protected. As a result, if the C4 is located in bombsite B, CTs should avoid taking the lower pathway that connects the bombsites and their spawn zone. Instead, traversing through the catwalk and entering through the tunnels (or the double doors) to storm into Bombsite B are better options. If possible, have someone distract the snipers and ensure the rest of your team eliminate enemies from their flank by throwing HE grenades through the hole.
Sometimes, it is possible for a sniper to guard the middle and thus greatly hamper enemy players from reaching bombsite B. This tactic is often utilized around the Terrorist Spawn Zone or at least nearby it. For counter-tactics, smoke grenades serve as the best protection.

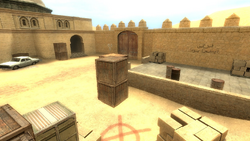
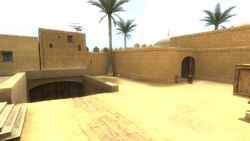
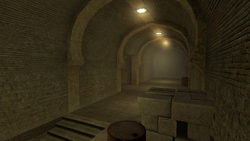
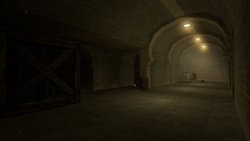
Tunnel
In the situation where enemies are (about to be) engaged in the tunnel, be sure to throw a flashbang at where the opposing force would most likely enter. Smoke Grenades are another alternative solution but these grenades are best thrown at the center of the tunnel or/and the entryways. Remember, this place is quite devoid of light thus be sure to enter through the area with caution. Rushing is not a good idea unless you are really certain that the tunnel is clear of enemy players or that they are unaware of your presence.
Terrorists can be held up in this area if there are sufficient CTs who are guarding the lower tunnels and bombsite B.
Similar to the side doors, shotguns wielded by enemies are extremely hazardous to your team if everyone is distracted.


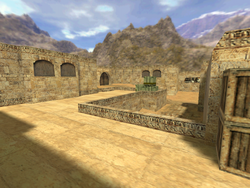
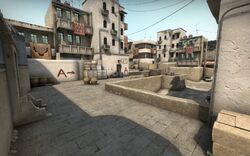
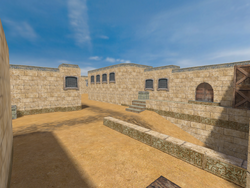
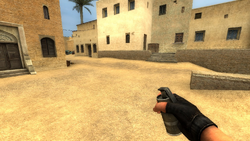
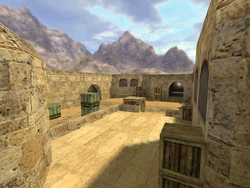
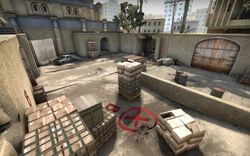
Middle/Midway
This area is usually a good area to rush in the pistol round. However, the middle may be avoided entirely when players can purchase sniper rifles.
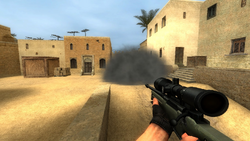
The middle areas has one of the highest concentrations of snipers in the map as it provides cover for campers. The most common technique is to wield the AWSM, Schmidt Scout/SSG 08, SIG 550/SCAR-20, or the G3 SG/1 and eliminate passing or stationary enemy players at the opposite side of the area. However, anyone who was armed with a sniper rifle has the responsibility to provide cover for (and avoid killing) team members who are attempting to reach the entryways to the tunnel, side, and the middle.
To reduce the chance of being hit, smoke grenades or flashbangs are often thrown at the double doors to allow team members to breach through enemy lines. Flashbangs may not be useful if the sniper is far away from the doorway, thus rapid movement is still recommended if there is no smokescreen. The door is sometimes used by a sniper from either team via wall-bang to kill someone behind it.
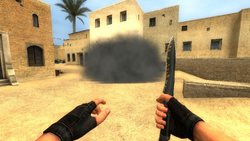
As for the midway, it is important to traverse through this section with caution as enemies can rush through the corners and eliminate you before you can counterattack. If you do suspect an ambush on the other side, be sure to throw a flashbang and/or an HE grenade to flush out any hiding enemy players. Retreating is an option for you if assailants from the opposing team overwhelm you and eliminating them one player at a time is another tactic to consider.
Take note that the double doors are strategically slanted for enemies to shoot at targets. A CT sniper can take advantage of this by camping behind the doors and eliminate passing enemies at the middle.
The lower entrance to the tunnel is usually ignored, although some players will take this pathway to sneak to either Bombsite. However, ambushes can be common and taking the staircase is very risky.
Often times, the Terrorists have an advantage in the middle as the Counter-Terrorists will normally control the lower sections. Players who rush from the unelevated areas (especially from the double doors) can be hit with flashbangs and HE grenades. However, in the Counter-Strike Goldsrc games, a CT can toss a grenade at the bottom of the ramp and that grenade can simply roll upwards to disorientate targets from above. In Source games, players are given the ability to throw grenades much further away as a compensation.
In Source, bots from both teams will always rush in this area during pistol rounds. If possible as a Terrorist, buy two flashbangs and sneak (crouch while your teammates are attacking) on the right balcony that leads to Bombsite A. Throw a flashbang when close enough but exercise caution since there's often a couple of CTs behind the wooden doors who are not affected. Be sure to take cover when they are attacking if one lacks a helmet.
")
")

Additional Tactics
Mid Double Doors
Tactics

In GoldSrc games, the small opening of the middle double doors can be seen directly from the Terrorist spawn point via scope. Usually, when a round starts, more than one player will use AWPs to kill passing Counter-Terrorists.
Note in Source, the small opening has been changed to a big opening, allowing the CTs to eliminate passing or camping Terrorists as well. Also, in Global Offensive, the doors are now metallic, greatly reducing wallbanging.
Countertactics
- Counter-Terrorists should always jump when they pass through the double doors because snipers are there for the majority of the round. Shortly after the round starts, Terrorists with sniper rifles will usually take control of this section and shoot any CT passing by. Jumping will increase the difficulty for them to hit you and in most cases, you will take less damage.
- Throw a smoke grenade near the double doors to reduce the chance of being hit. It makes it harder for a sniper to aim, because of their impaired vision. Take caution if a Terrorist sniper is armed with the G3SG1 though, since they may not hesitate to spray bullets through the smoke.
Tunnel
Tactics
A Counter-Terrorist can camp Bombsite B with any sniper rifle, preferably the SG 550 or AWP, aiming for the tunnel. Any Terrorist that comes to the bombsite using the tunnel will be an easy target. This tactic can also be used by a Terrorist after they have planted the bomb and is protected by teammates watching the doors.
Countertactics
- Always throw a Flashbang before using the tunnel to get to the bombsite.
- Get many teammates to take advantage of the sniper's slow firing speed, but be careful when encountering a sniper that is armed with semi-auto sniper rifles.
Midway
Tactics
A Terrorist with the bomb can rush to Bombsite A by passing through the "mid" (short for middle and also known as midway). Before reaching the bombsite, throw a flashbang to blind any camping enemies and eliminate all opposition. Doing this with more than one allied player will increase the Terrorist team's chances of winning.
Countertactics
- Get a sniper to go behind the double doors and shoot any enemies rushing through the middle areas. Some teammates who are camping at Bombsite A may find some surviving opposing players if not all of the enemies were killed while passing through the area. If blinded, take cover and wait for the enemy to come.
- If any teammates report that enemies are rushing the mid sections, try to flank them from behind, especially if the round has progressed through more than half the time allotted. Use a knife or any other quiet weapon if they do not detect you.
Other Areas
CT Spawn Zone
Terrorist Spawn Zone
")
")
")
")
| |||||||||||||||||