Fastline (de_fastline) is a medium sized map that can only hold a maximum of 10 players per team.
Overview[]
The enclosed sections of the map makes it ideal for campers armed with rifles and shotguns. Snipers tend to dominate enemies at the main hall but can guard the bombsites with precision.
Unlike most other official maps, Fastline features a complex ventilation system that the Terrorists can use. It connects the entryway (close to their Spawn Zone) to the little office and the bombsites.
")
Hot Spots[]
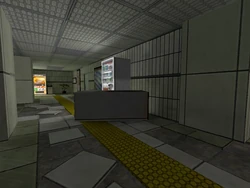
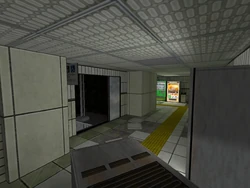
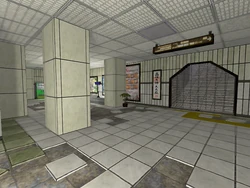
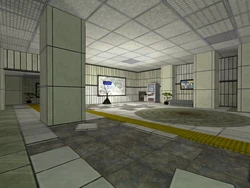
Main Hall/Little Office[]
In pistol rounds, players can rush to this area. In later rounds when a player is armed with a sniper rifle, either smoke grenades are used for cover or this area is completely avoided. Automatic rifles are best used to engage enemies or provide suppressive fire at medium to long ranges. Players wielding shotguns and submachine guns should only provide backup when their allies are being overwhelmed as their limited abilities rarely extend beyond guarding the hallways and bombsites, unless they somehow successfully rush to the side hall, elevator, or the middle.


If combat is intense, players may not be able to reach the little office (although CTs have a better chance of doing so).
This area may not seem important but it can allow some of the CTs to reach the ducts and be certain that the bomb carrier is not hiding in the ventilation system.
")
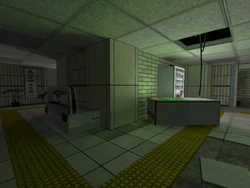
Bombsite B/CT Spawn Zone[]
Shotguns are arguably the most deadly in this confined area as the bomb target is in the subway tram car.
If snipers that are guarding the stairs and the middle are somehow overwhelmed, anyone armed with the XM1014 can prevent enemies from planting/defusing the C4. One notorious act is to wield the M249 and continuously fire at players in the tram car which will often pin enemies down and force them to retreat.
Flashbangs and HE grenades should be used to eliminate enemies with ease. The confined space will make avoiding these grenades impossible and thus can dissuade campers.


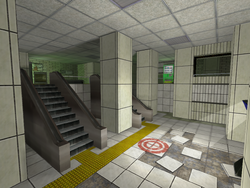
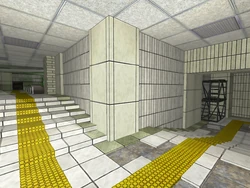
Bombsite A[]
Unlike Bombsite B, this site has two floors and the bomb target is below the escalators. This makes it harder for the CTs to defuse a planted C4 as the Terrorists can camp from above.
Rushing through this area is often dangerous as campers usually tend to hide in the upper floor.


Other Areas[]
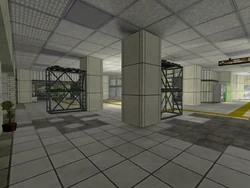
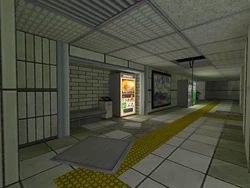
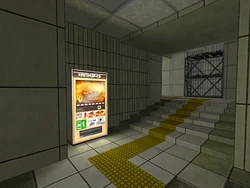
Vending Machines/Elevator[]
To avoid snipers or combat at the main hall, a Terrorist with the C4 may try to get around the fighting and sneak through this area.
This section is risky to take as a camper with a shotgun may be hiding above or below the elevator. Flashbangs are the most thrown while HE grenades can be used but it will attract attention.

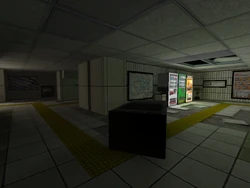
The elevator connects the vending machines and the main hall. If important enemies have been spotted in either section, this area is used as a shortcut.
")
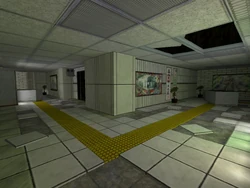
Middle/Stairs[]
To reach essential areas, these are the pathways that the CTs will traverse through.
The stairs connect Bombsite A and the CT Spawn Zone while the middle can take CTs from their spawn zone to the main hall or the aforementioned bombsite. Terrorists rarely pay attention to the middle or the stairs unless the bomb has been planted.

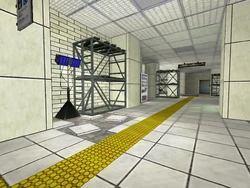
Entryway[]
Terrorists may encounter rushing CTs in the entryway, especially in some pistol rounds. More importantly, this area has a vent opening which can allow players to avoid enemies.

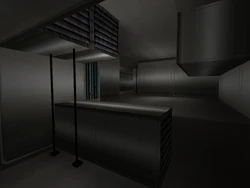
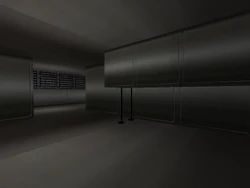
Ventilation System[]
Terrorists usually take advantage of the ducts to evade the CTs, especially bomb carriers. Shotguns are the most deadly in this section of the map although silenced weapons can provide special advantages.
Breaking any of the vent shafts, however, attracts attention and if enemy players are nearby, they can spray bullets and/or throw HE grenades in which avoiding damage is nearly impossible.
Other Areas[]
Terrorist Spawn Zone[]


| |||||||||||||||||